> ## Documentation Index
> Fetch the complete documentation index at: https://docs.bitstudio.ai/llms.txt
> Use this file to discover all available pages before exploring further.
# Create your own avatar
> Build a reusable person from a description or source photos, review four reference views, and use the avatar in a product series.
Avatar Builder turns a person description or your own photos into a saved avatar you can reuse in **Generate**. You review the person before using them across products and scenes.
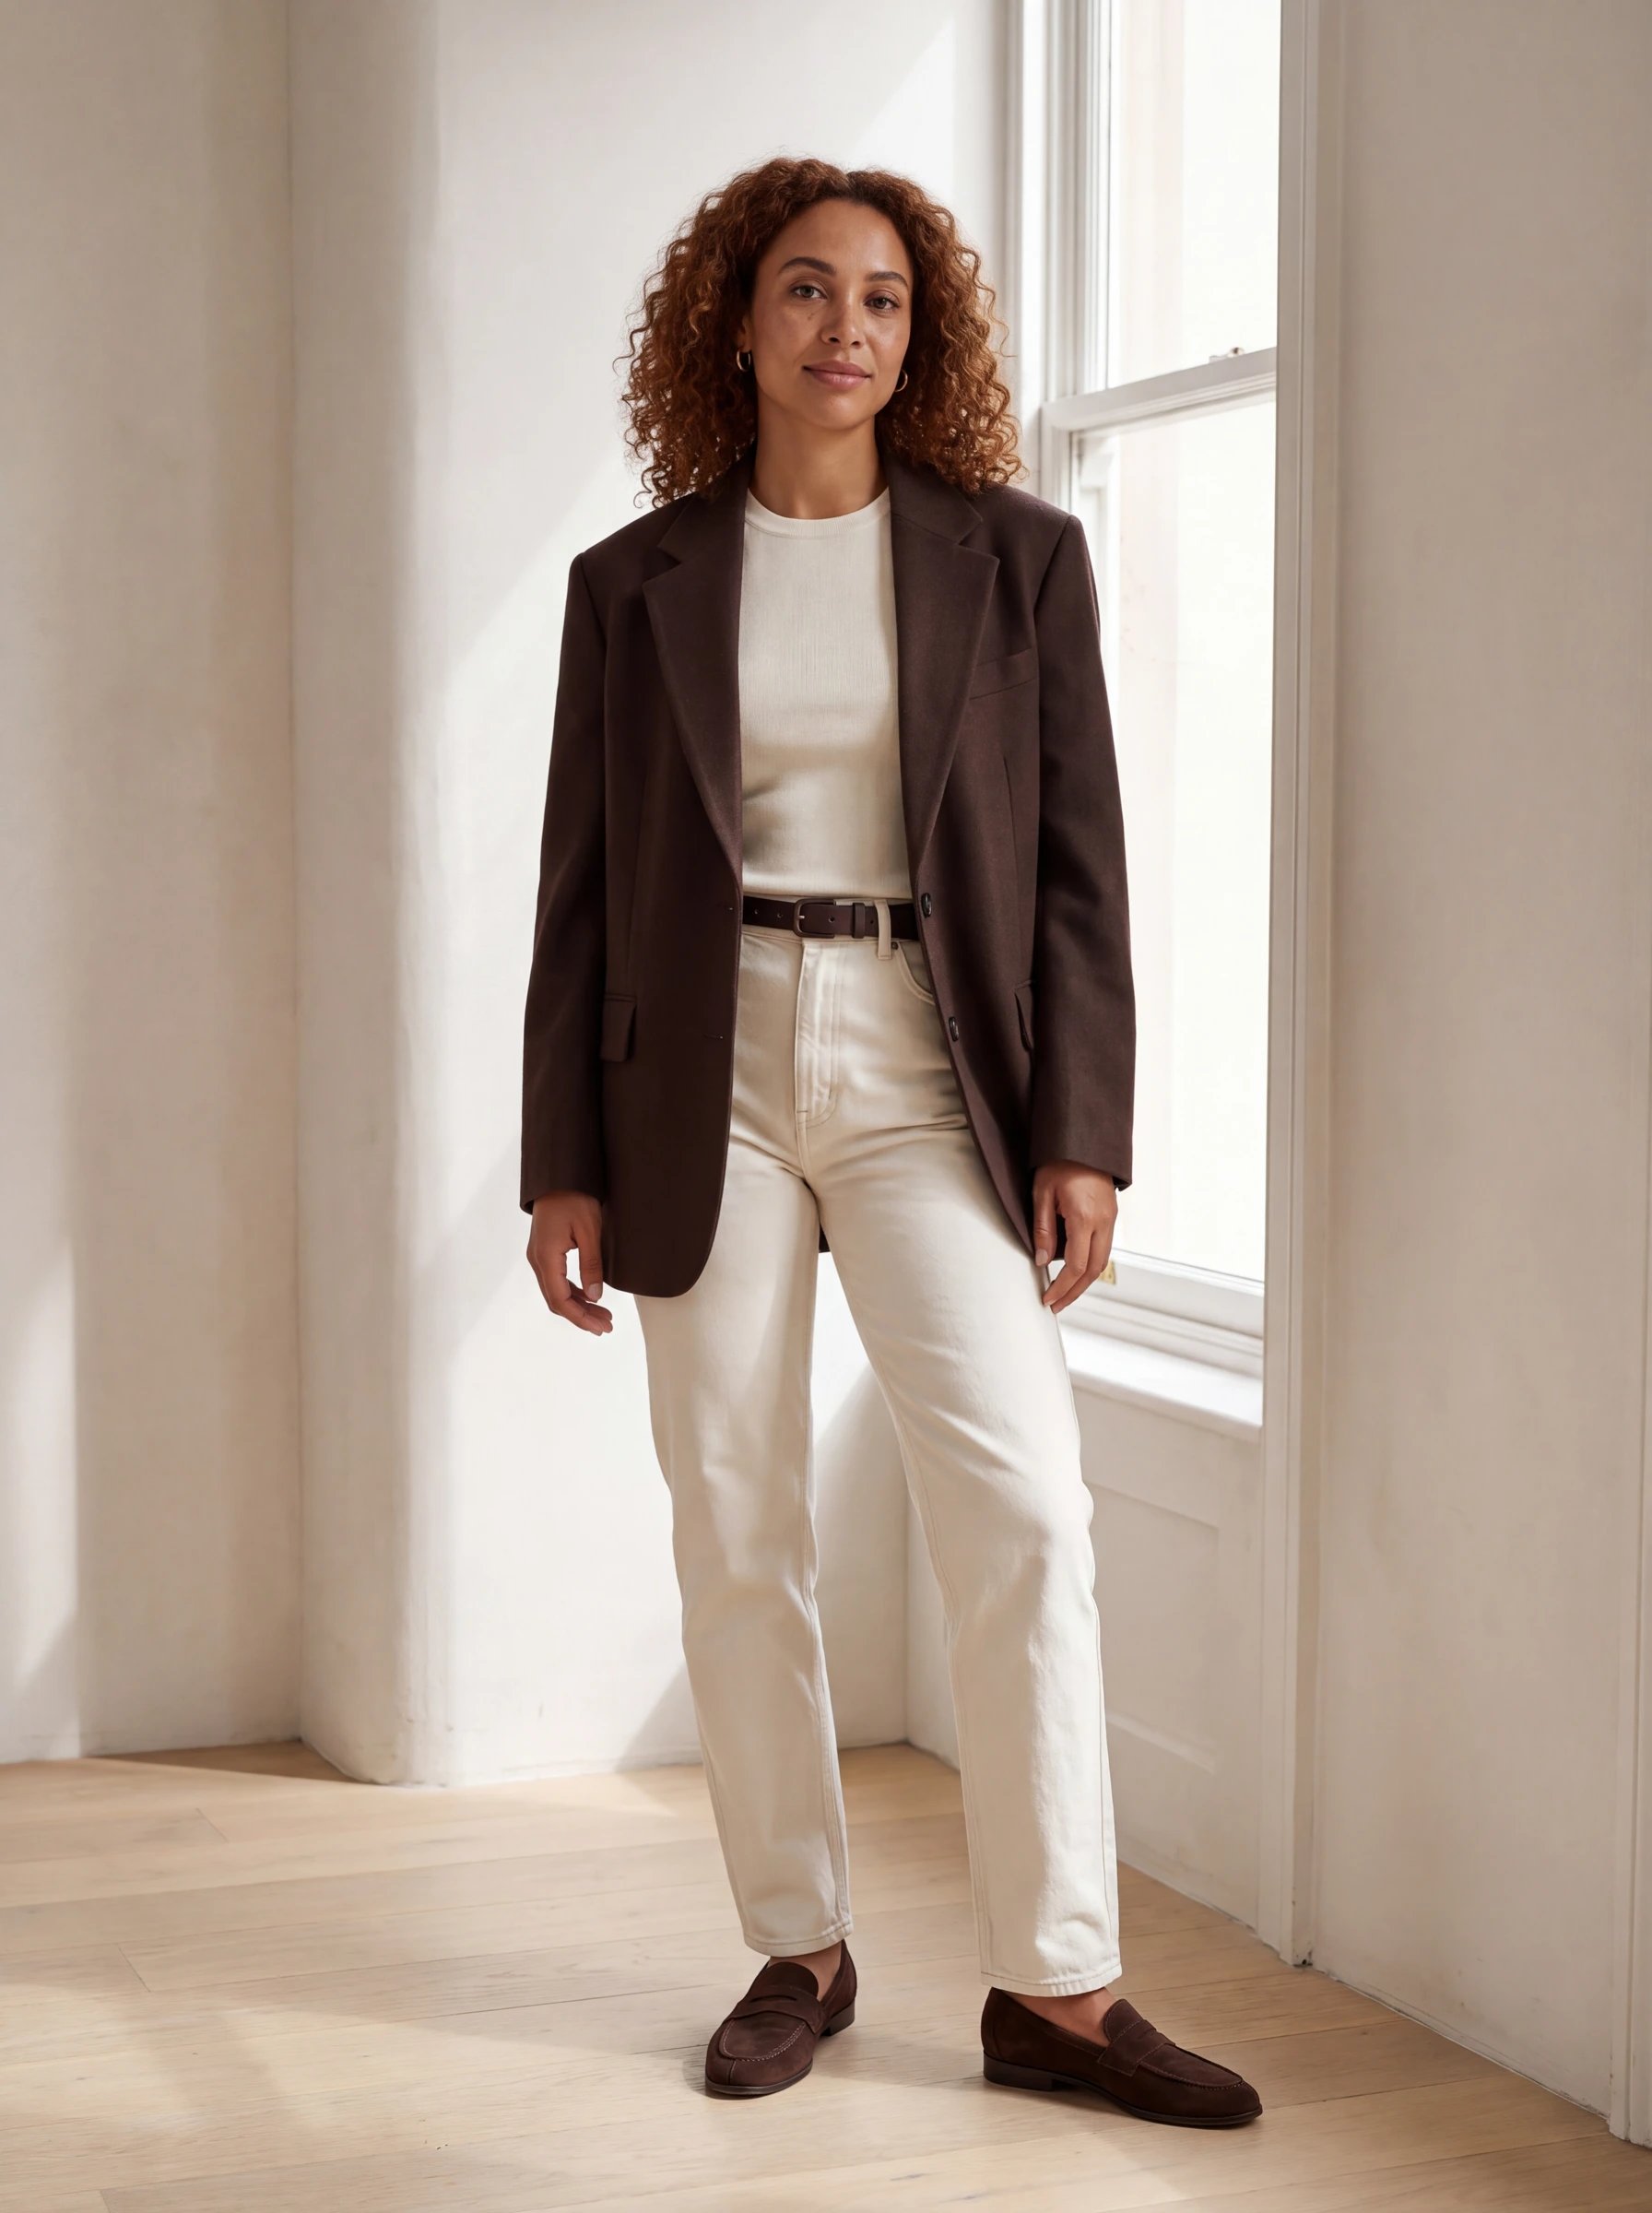
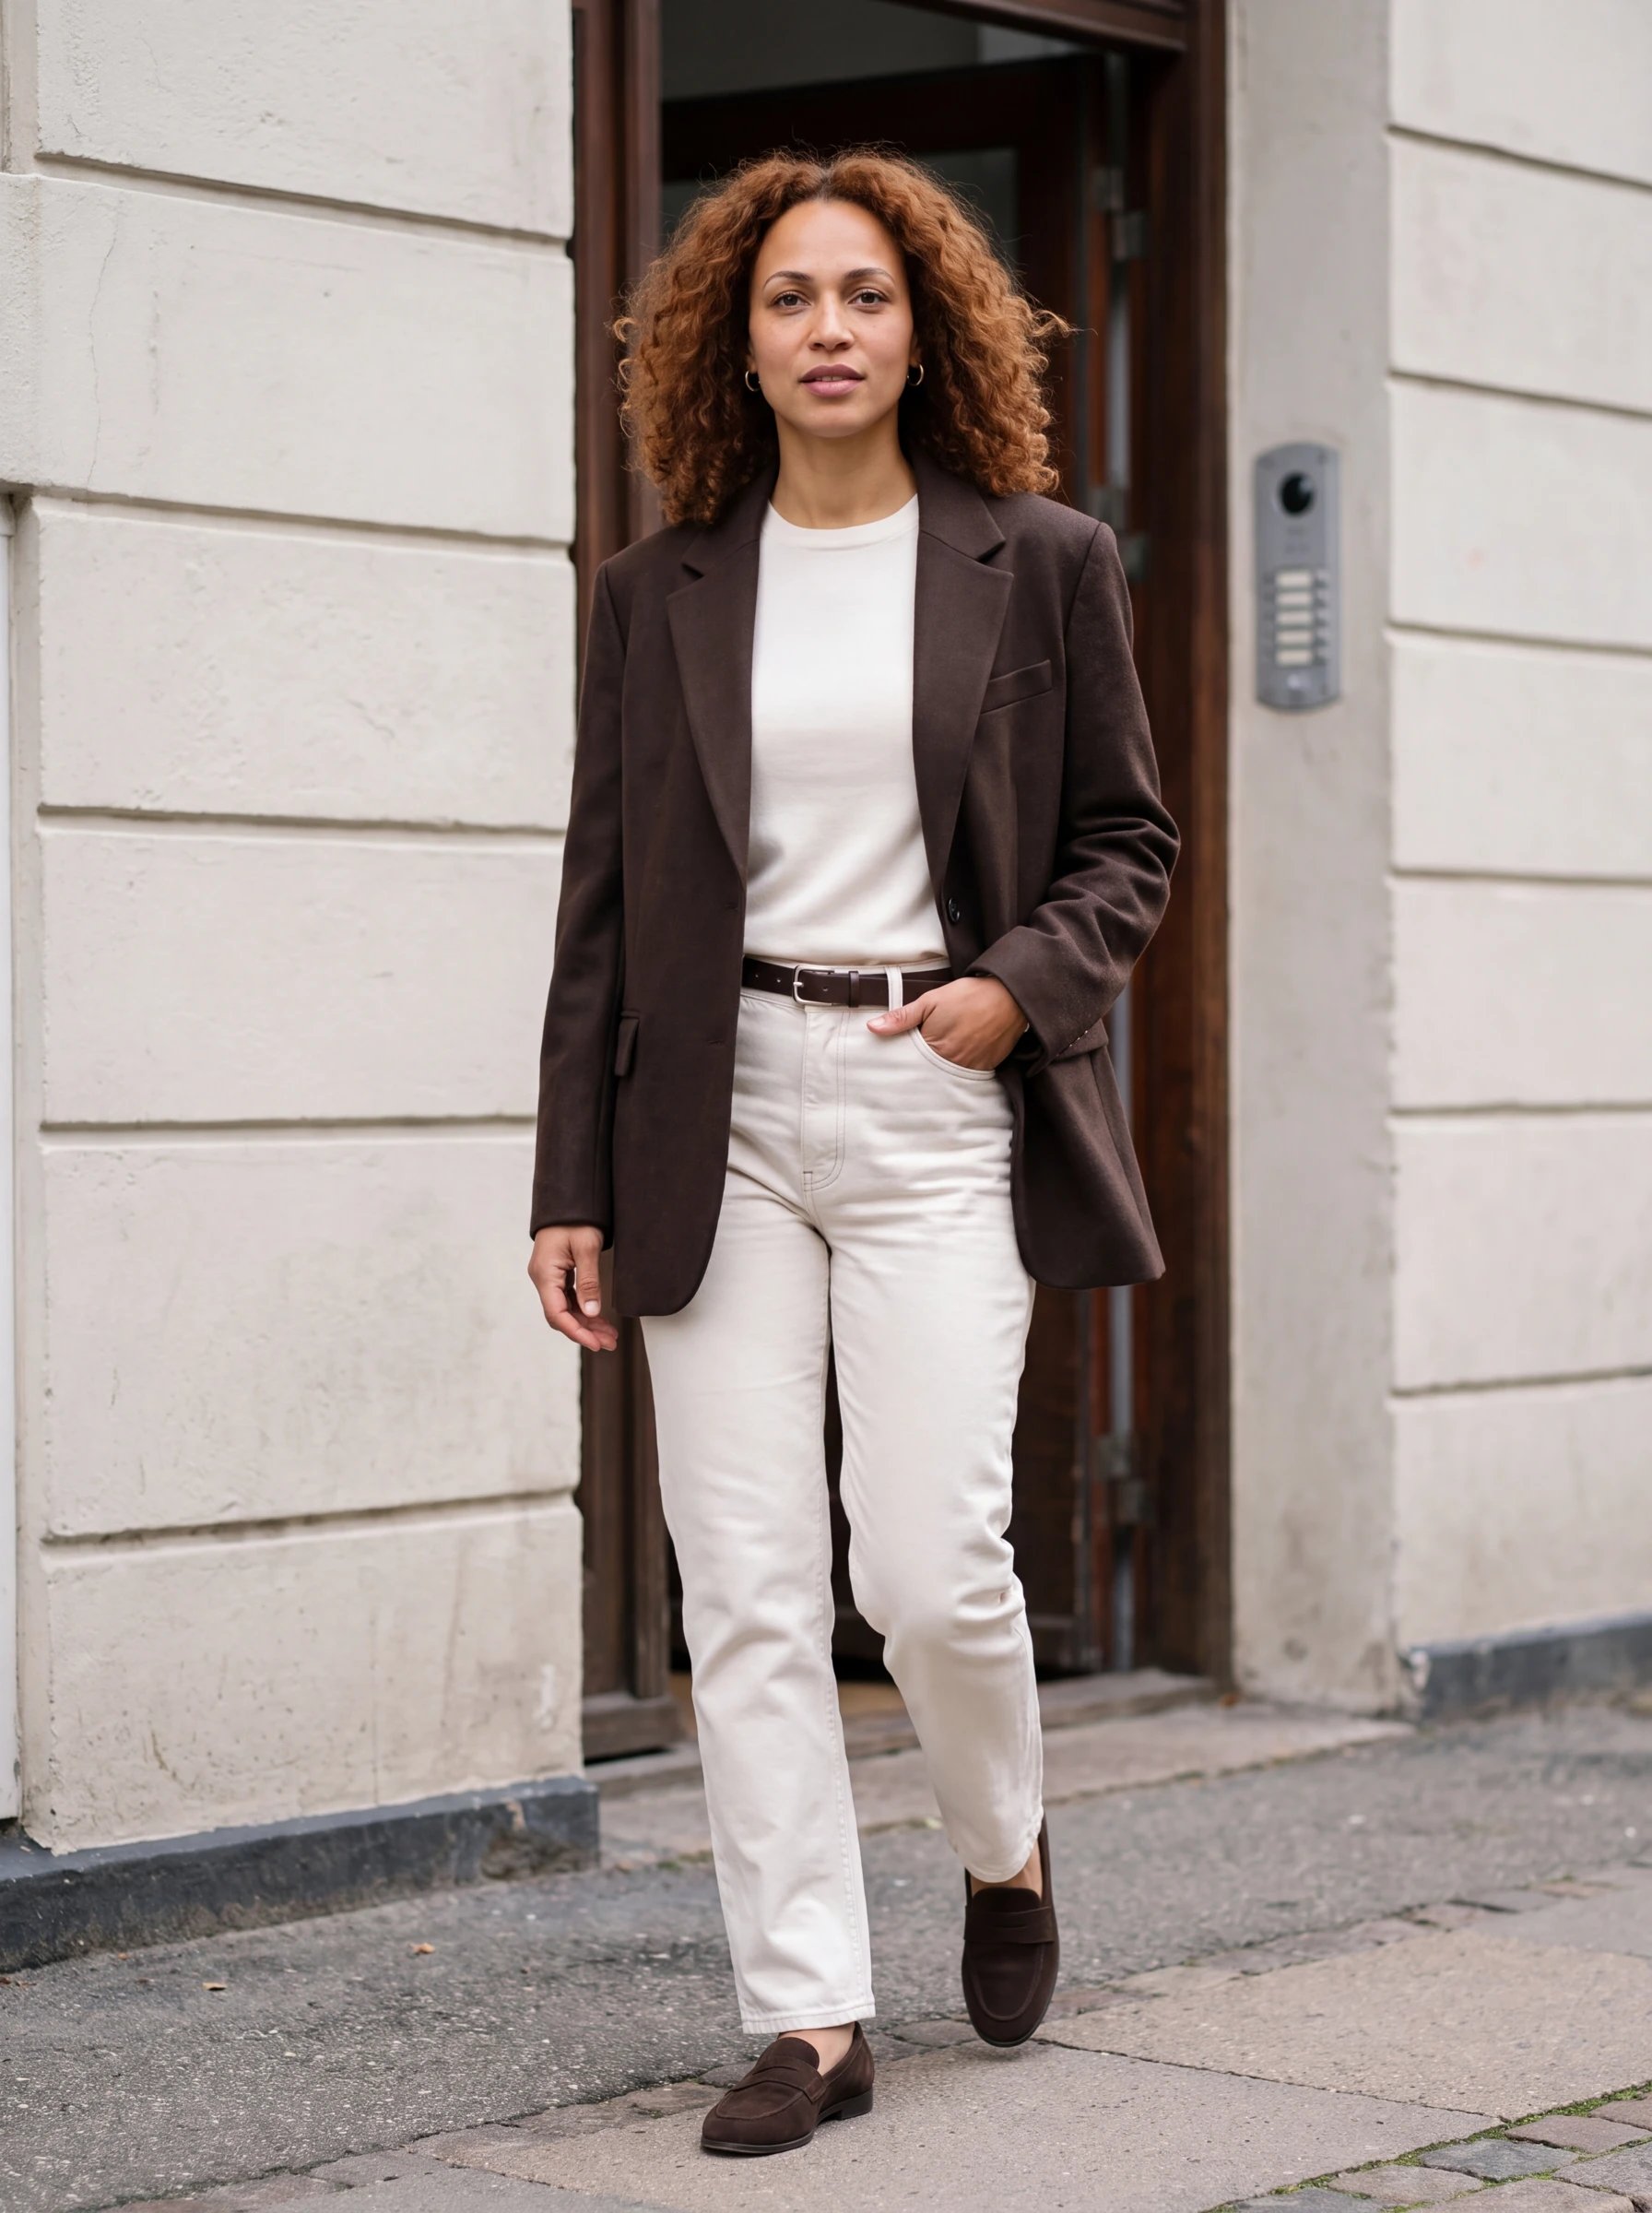
Meet **Mara**, the avatar we created for this walkthrough. Both photos below use the same saved avatar and a coordinated outfit description: a chocolate wool blazer, ivory knit, ecru denim, and brown loafers. We used **Nano Banana Pro, 4K**, with soft window light for one photo and an overcast street setting for the other.
 ## Build the avatar
Open **Avatar Builder** in the Studio sidebar. Choose a gender option and add the appearance you want under **Attributes**. Press Enter to add an attribute; you can also paste a comma-separated list.
For Mara, we used:
```text theme={null}
30 years old, shoulder-length curly auburn hair, brown eyes,
light freckles, warm medium skin tone, natural makeup
```
Describe stable features here. Choose the outfit, setting, and campaign pose later in Generate.
Choose an image model and quality, then review the displayed credit cost. Our starter used **Nano Banana Pro, 2K**; the saved reference set below used **Nano Banana 2, 2K**.
## Build the avatar
Open **Avatar Builder** in the Studio sidebar. Choose a gender option and add the appearance you want under **Attributes**. Press Enter to add an attribute; you can also paste a comma-separated list.
For Mara, we used:
```text theme={null}
30 years old, shoulder-length curly auburn hair, brown eyes,
light freckles, warm medium skin tone, natural makeup
```
Describe stable features here. Choose the outfit, setting, and campaign pose later in Generate.
Choose an image model and quality, then review the displayed credit cost. Our starter used **Nano Banana Pro, 2K**; the saved reference set below used **Nano Banana 2, 2K**.
 **Starting from a real person?** Add source photos instead. Use clear photos of the same person, with an unobstructed face and consistent appearance. You can add up to eight photos you have permission to use. With source photos, the builder can go directly to generating references.
When starting from a description, choose **Generate Starter**. Check the face, hair, age, and overall appearance when it finishes.
Use **Regenerate** if the person is not right yet. When the starter looks good, choose **Generate References**.
**Starting from a real person?** Add source photos instead. Use clear photos of the same person, with an unobstructed face and consistent appearance. You can add up to eight photos you have permission to use. With source photos, the builder can go directly to generating references.
When starting from a description, choose **Generate Starter**. Check the face, hair, age, and overall appearance when it finishes.
Use **Regenerate** if the person is not right yet. When the starter looks good, choose **Generate References**.
 The builder creates a **Neutral Headshot**, **45-Degree Headshot**, **Full-Body Front**, and **Full-Body Angled Pose**. Together, these give future generations face and body references from different views.
Inspect every image. The face, hair, skin tone, and proportions should describe the same person. Headshots should be clean portraits; full-body views should include the feet without awkward crops or extra body parts.
The builder creates a **Neutral Headshot**, **45-Degree Headshot**, **Full-Body Front**, and **Full-Body Angled Pose**. Together, these give future generations face and body references from different views.
Inspect every image. The face, hair, skin tone, and proportions should describe the same person. Headshots should be clean portraits; full-body views should include the feet without awkward crops or extra body parts.
 If one view needs work, use **Regenerate** on that card. Changes to **Characteristics** apply to the next regeneration; they do not rewrite finished images. Wait until all four views are ready, then choose **Continue to Save**.
Enter an **Avatar Name**, review the reference thumbnails and description, then choose **Save Avatar**. We named this one **Mara**.
If one view needs work, use **Regenerate** on that card. Changes to **Characteristics** apply to the next regeneration; they do not rewrite finished images. Wait until all four views are ready, then choose **Continue to Save**.
Enter an **Avatar Name**, review the reference thumbnails and description, then choose **Save Avatar**. We named this one **Mara**.
 Open **Generate**, select the **Avatar** tile, and choose the saved avatar. Add your garment and a preset, then generate a first product photo.
Keep the avatar selected for the next image. Change the product, pose direction, or preset according to the shot you need, and compare each result with the references.
## Make the identity easier to keep
* Reuse the saved avatar instead of re-describing a similar person each time.
* Keep faces clear and avoid conflicting person references in the same generation.
* Check a neutral product photo before introducing dramatic lighting or strong profile views.
* Review the set together. We optimise the workflows for high accuracy, but occasional mistakes can still happen.
The images in this guide were generated through bitStudio for this walkthrough. They are examples of a reviewed workflow, not a guarantee that every first attempt will look the same.
[Create a product photo →](/guides/product-photos) · [Build a campaign →](/guides/campaigns)
Open **Generate**, select the **Avatar** tile, and choose the saved avatar. Add your garment and a preset, then generate a first product photo.
Keep the avatar selected for the next image. Change the product, pose direction, or preset according to the shot you need, and compare each result with the references.
## Make the identity easier to keep
* Reuse the saved avatar instead of re-describing a similar person each time.
* Keep faces clear and avoid conflicting person references in the same generation.
* Check a neutral product photo before introducing dramatic lighting or strong profile views.
* Review the set together. We optimise the workflows for high accuracy, but occasional mistakes can still happen.
The images in this guide were generated through bitStudio for this walkthrough. They are examples of a reviewed workflow, not a guarantee that every first attempt will look the same.
[Create a product photo →](/guides/product-photos) · [Build a campaign →](/guides/campaigns)