> ## Documentation Index
> Fetch the complete documentation index at: https://docs.bitstudio.ai/llms.txt
> Use this file to discover all available pages before exploring further.
# Put your product on a model
> Create on-model product photos from a flat lay, mannequin shot, or another clear garment reference.
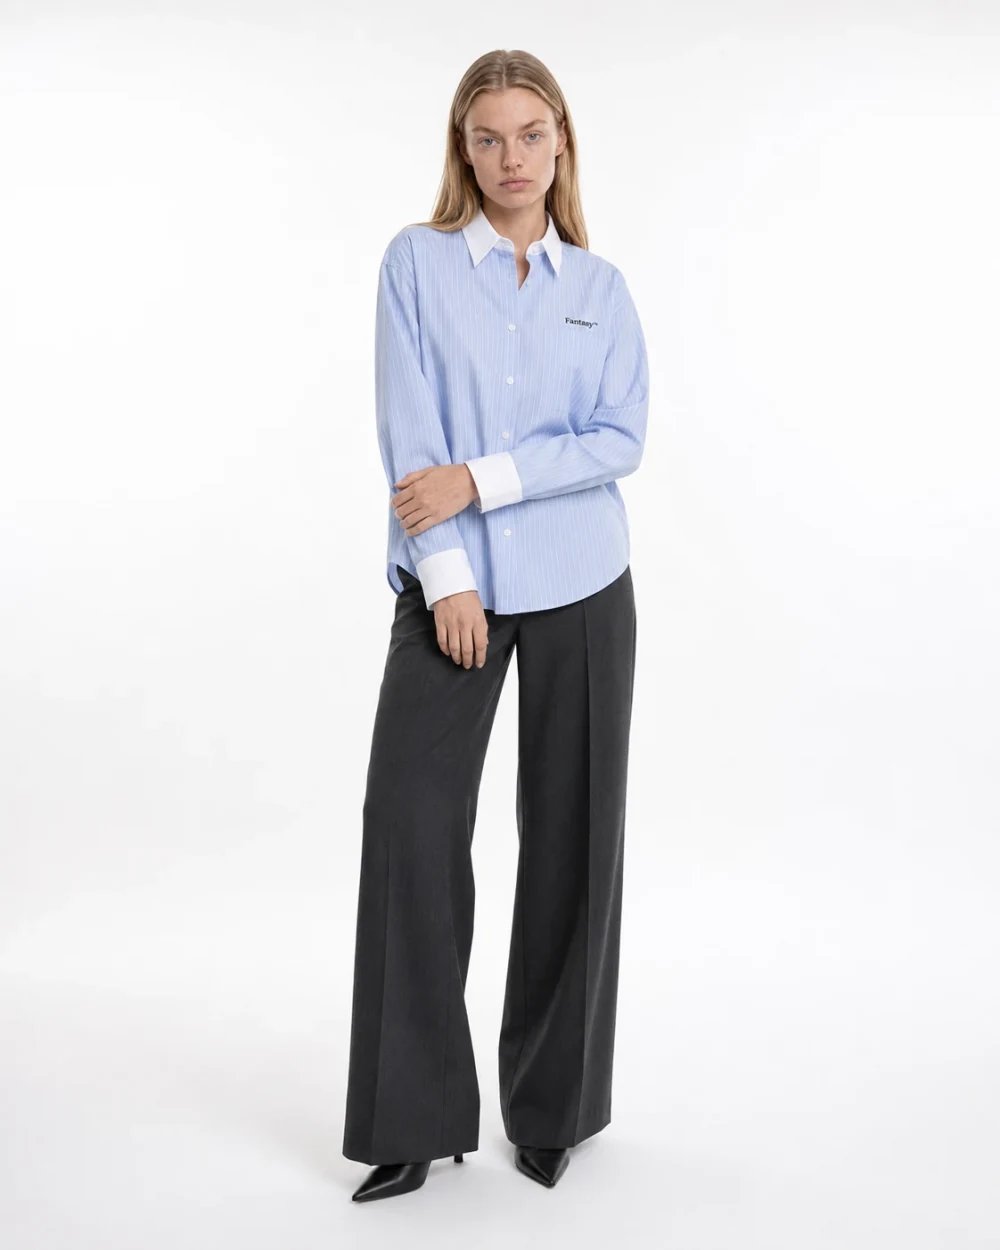
Use **Generate** when you want a new photo built around your product. You choose the avatar, the product, and the scene. If you want to keep a particular person’s existing photo as the starting point, use [Virtual Try On](/guides/virtual-try-on).
## Prepare one product
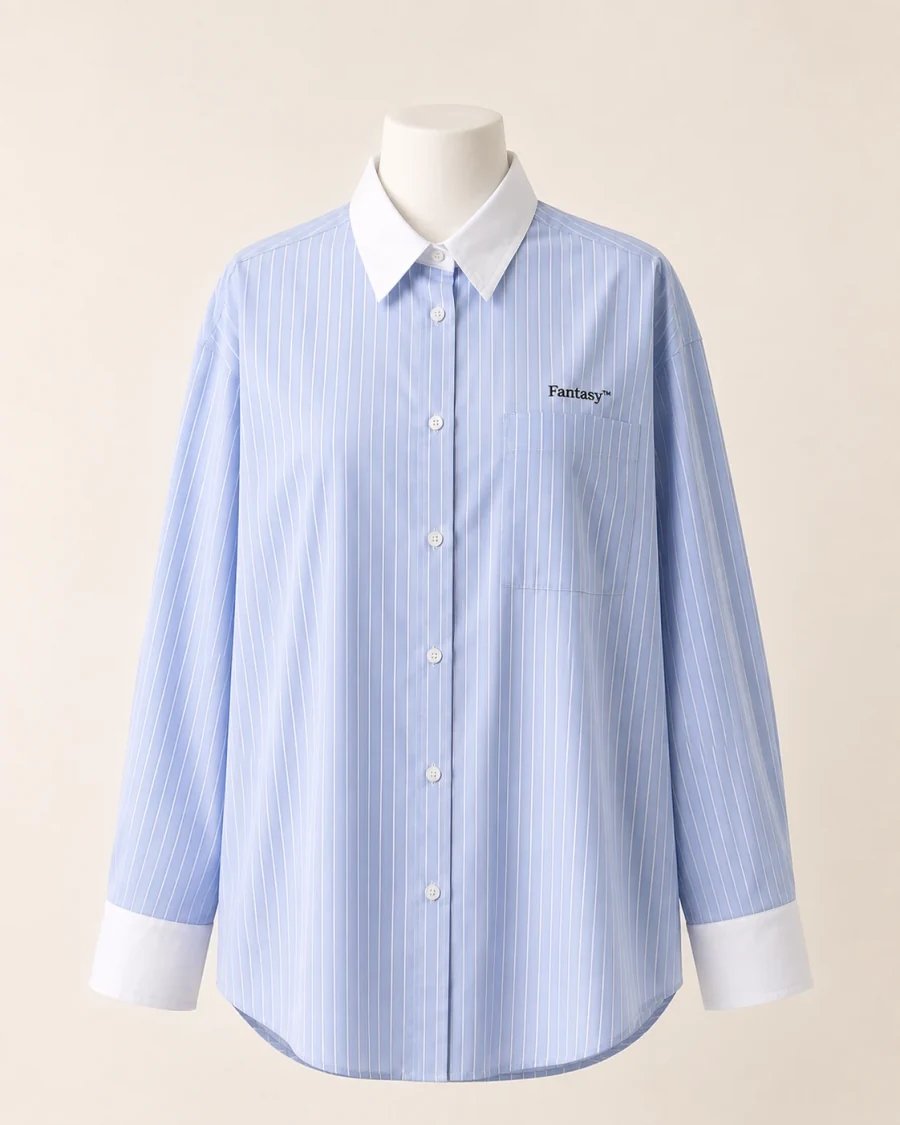
Choose a clear front view. Add a back view and useful detail shots to the same [wardrobe item](/features/wardrobe), rather than treating each angle as a different outfit.
For a shirt, the useful details might be the collar shape, cuff color, button spacing, and embroidered logo. For a dress, check the neckline, waist seam, hem, and fabric pattern.
 ## Build the shot
1. Open **Studio → Generate** and select an **Avatar**.
2. Select your saved product under **Outfit**.
3. Choose a **Studio** preset for a product listing, or an outdoor/editorial preset for a lifestyle image.
4. Choose a frame that leaves the full product visible. Start with one image.
5. Describe the styling and composition, then select **Generate**.
```text theme={null}
Front-facing product photo. Keep the shirt untucked and the sleeves down.
Arms relaxed away from the torso. Show the entire shirt and both cuffs.
```
A simple first pose makes product errors easier to spot. Add movement or a more expressive pose after you have a reliable reference result.
## Check it like a product photographer
Compare the result against the source at full size:
* **Construction:** neckline, seams, fastenings, pockets, cuffs, and hem.
* **Surface:** color, print, logos, texture, and transparency.
* **Presentation:** natural hands, clear silhouette, useful crop, and believable shadows.
We optimise bitStudio’s workflows for high accuracy, but small mistakes can still occasionally happen. Keep your original product photos available for comparison, especially when preparing a listing.
## Build the rest of the listing
Once the first photo works, reuse the same avatar and preset for the next product. For the same product, make a new pose, a back view with a back reference, or a [flat lay or packshot](/guides/flat-lays-and-packshots).
Change one part at a time. If every image uses a different avatar, lighting setup, and crop, it becomes harder to see which change helped.
## Build the shot
1. Open **Studio → Generate** and select an **Avatar**.
2. Select your saved product under **Outfit**.
3. Choose a **Studio** preset for a product listing, or an outdoor/editorial preset for a lifestyle image.
4. Choose a frame that leaves the full product visible. Start with one image.
5. Describe the styling and composition, then select **Generate**.
```text theme={null}
Front-facing product photo. Keep the shirt untucked and the sleeves down.
Arms relaxed away from the torso. Show the entire shirt and both cuffs.
```
A simple first pose makes product errors easier to spot. Add movement or a more expressive pose after you have a reliable reference result.
## Check it like a product photographer
Compare the result against the source at full size:
* **Construction:** neckline, seams, fastenings, pockets, cuffs, and hem.
* **Surface:** color, print, logos, texture, and transparency.
* **Presentation:** natural hands, clear silhouette, useful crop, and believable shadows.
We optimise bitStudio’s workflows for high accuracy, but small mistakes can still occasionally happen. Keep your original product photos available for comparison, especially when preparing a listing.
## Build the rest of the listing
Once the first photo works, reuse the same avatar and preset for the next product. For the same product, make a new pose, a back view with a back reference, or a [flat lay or packshot](/guides/flat-lays-and-packshots).
Change one part at a time. If every image uses a different avatar, lighting setup, and crop, it becomes harder to see which change helped.