

Make a text edit
Select Freeform Edit. Describe the change, then say which important details should stay. Choose a model and quality from the control beside Submit, review the credit cost, and submit.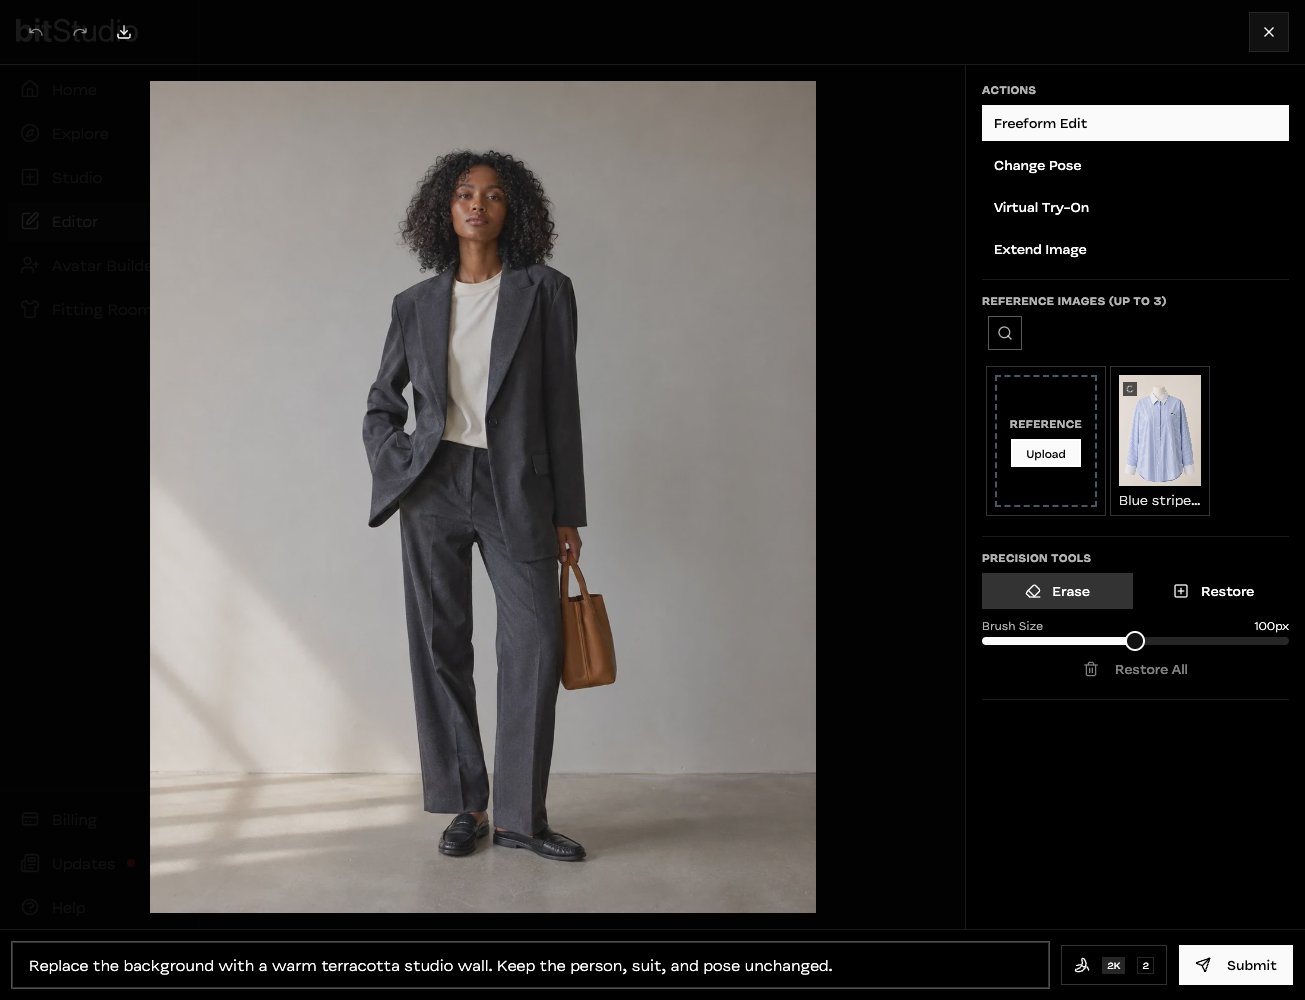
Freeform Edit with a specific background change and preservation instructions.
Target a smaller area
Use Erase under Precision Tools to mark the area to change. Adjust Brush Size for the object; use Restore to undo part of the marked area, or Restore All to start over. Describe what should replace the marked region. To remove a handbag, include its handle and shadow in your selection, then ask for the background or clothing that should appear there. A tight selection helps, but leave enough space for natural edges.Check the new version
Wait for the new result before making another edit. Compare it with the source at a useful zoom: look at edges, garment seams, logos, fingers, and lighting. Keep the strongest version as the starting point for the next change.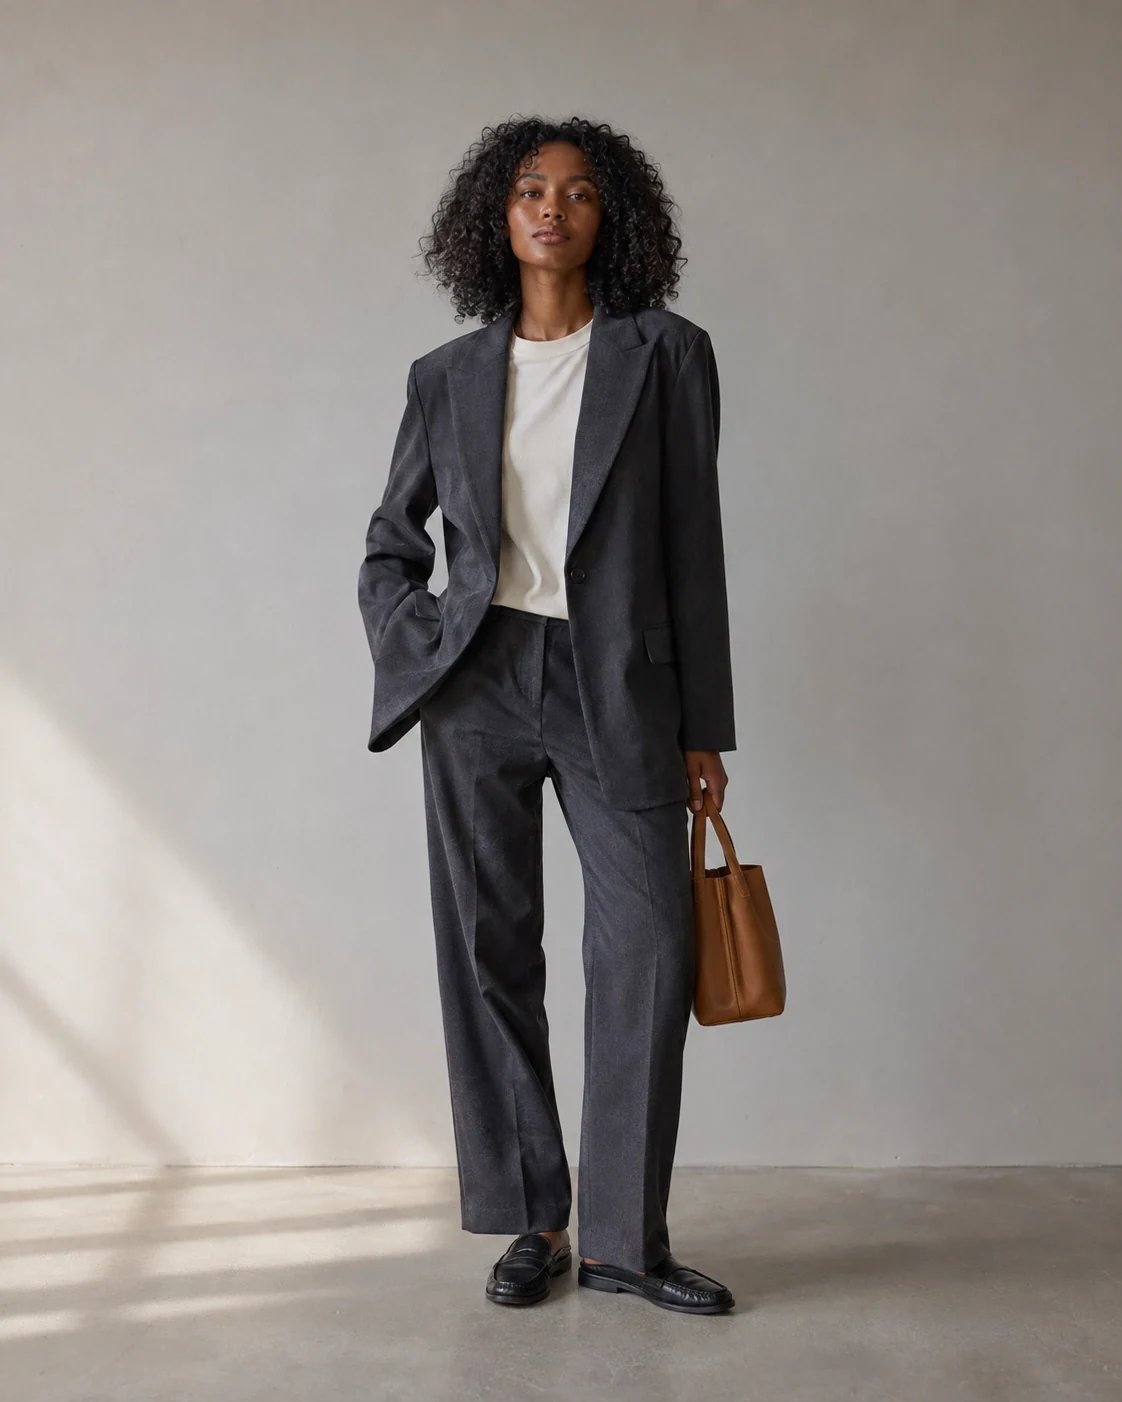
Original published example

Published background-edit example