A preset is a reusable visual setup. It can define a studio look, an outdoor scene, a pose or composition, or a product-only presentation. Your avatar and outfit remain separate selections.

Find a starting point

Select Select Preset in the Generate panel. Browse the Preset Library by category, such as Studio, Packshot, or an outdoor setting. Choose a look that already resembles the image you want.
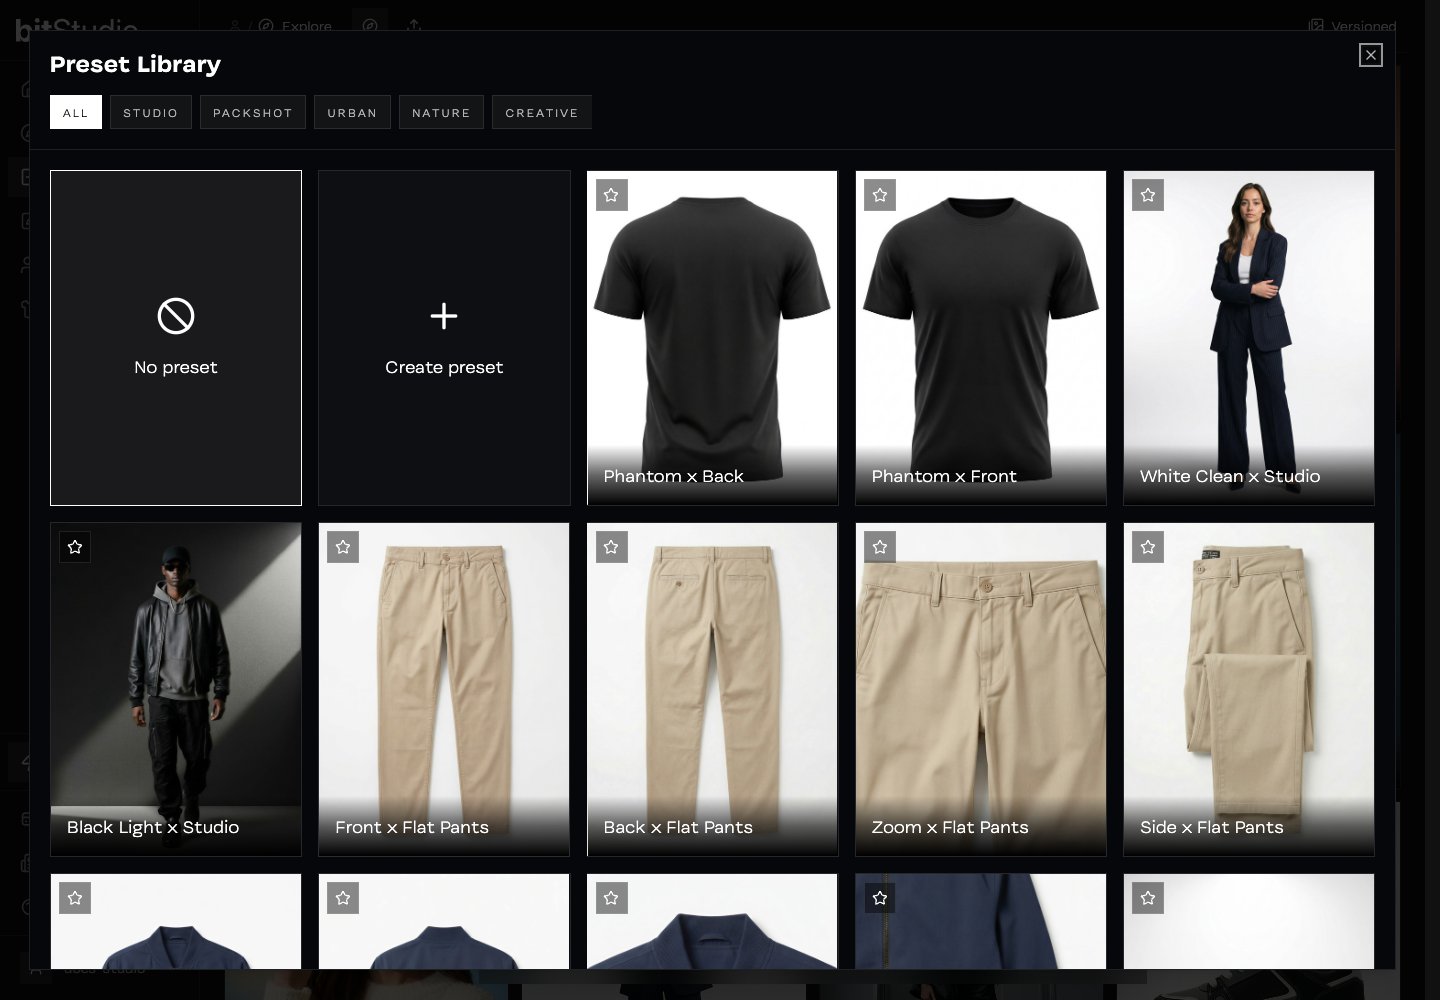
Preset Library with category filters and previews of studio, ghost mannequin, and flat-lay setups

The preset library provides visual starting points for both model photography and product-only images.

Use the favorite control on a preset you want to return to. A short shortlist makes a repeated product shoot easier to manage.

Add directions that complement the preset

Once selected, the Prompt field becomes Add extra preset directions. Use it for the change you need:
Avoid giving the preset a conflicting brief. A night scene plus “bright midday sunlight” leaves the model with two competing directions. Choose a closer preset instead.

Create your own preset

Select Create preset in the library. Add reference images that describe a coherent setup, review the generated description, give the preset a useful name, and save it. Use one lighting and composition idea per preset. For example, “White studio — full length” is easier to reuse than a mixed set of studio, beach, and close-up references. The saved preset can be used with different products and avatars. Check the result each time: changing a long dress to a small accessory may require a different crop even if the scene stays the same.

Work without a preset

Choose No preset to direct the scene in text. Describe the subject’s framing, the setting, and the light. This is useful for exploring a new idea; save a reusable setup once you have one you like. Write clearer directions →