

Prepare one product
Choose a clear front view. Add a back view and useful detail shots to the same wardrobe item, rather than treating each angle as a different outfit. For a shirt, the useful details might be the collar shape, cuff color, button spacing, and embroidered logo. For a dress, check the neckline, waist seam, hem, and fabric pattern.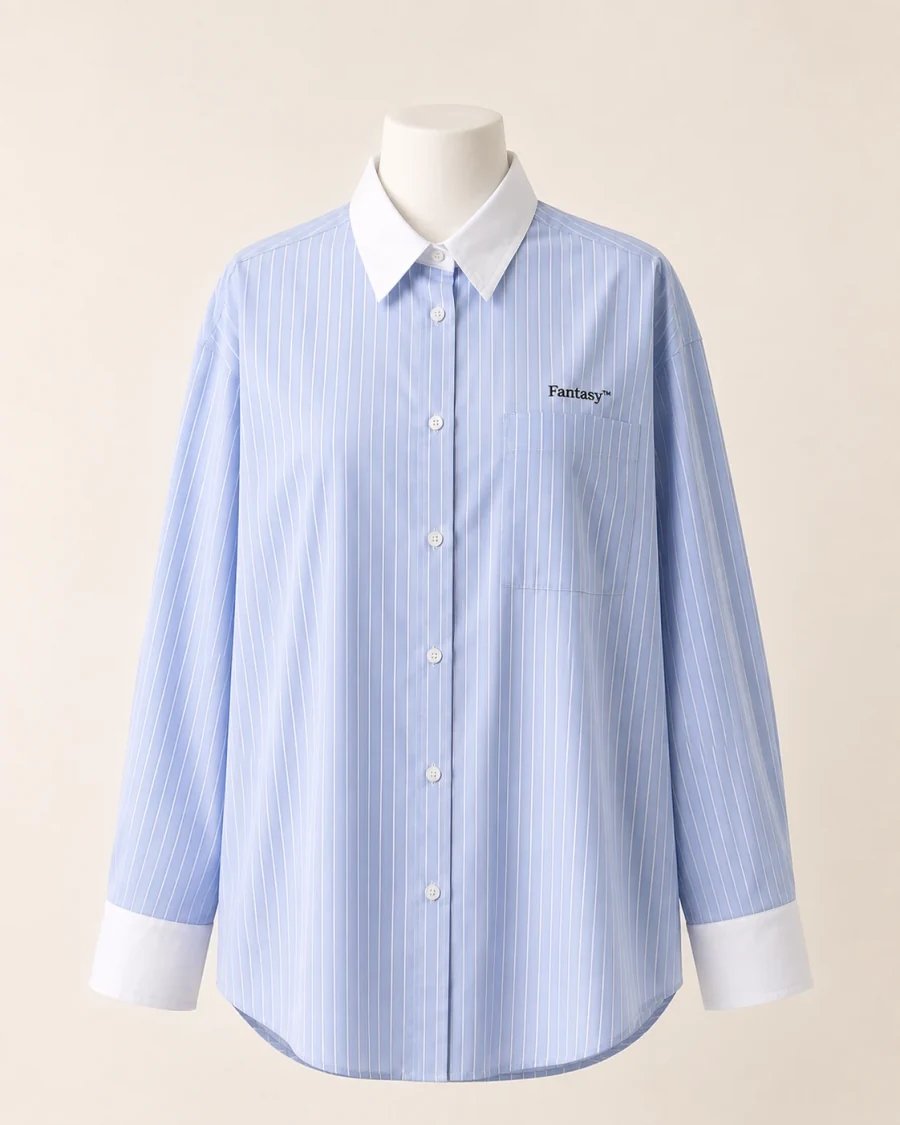
A mannequin photo makes the shirt’s construction easy to see.
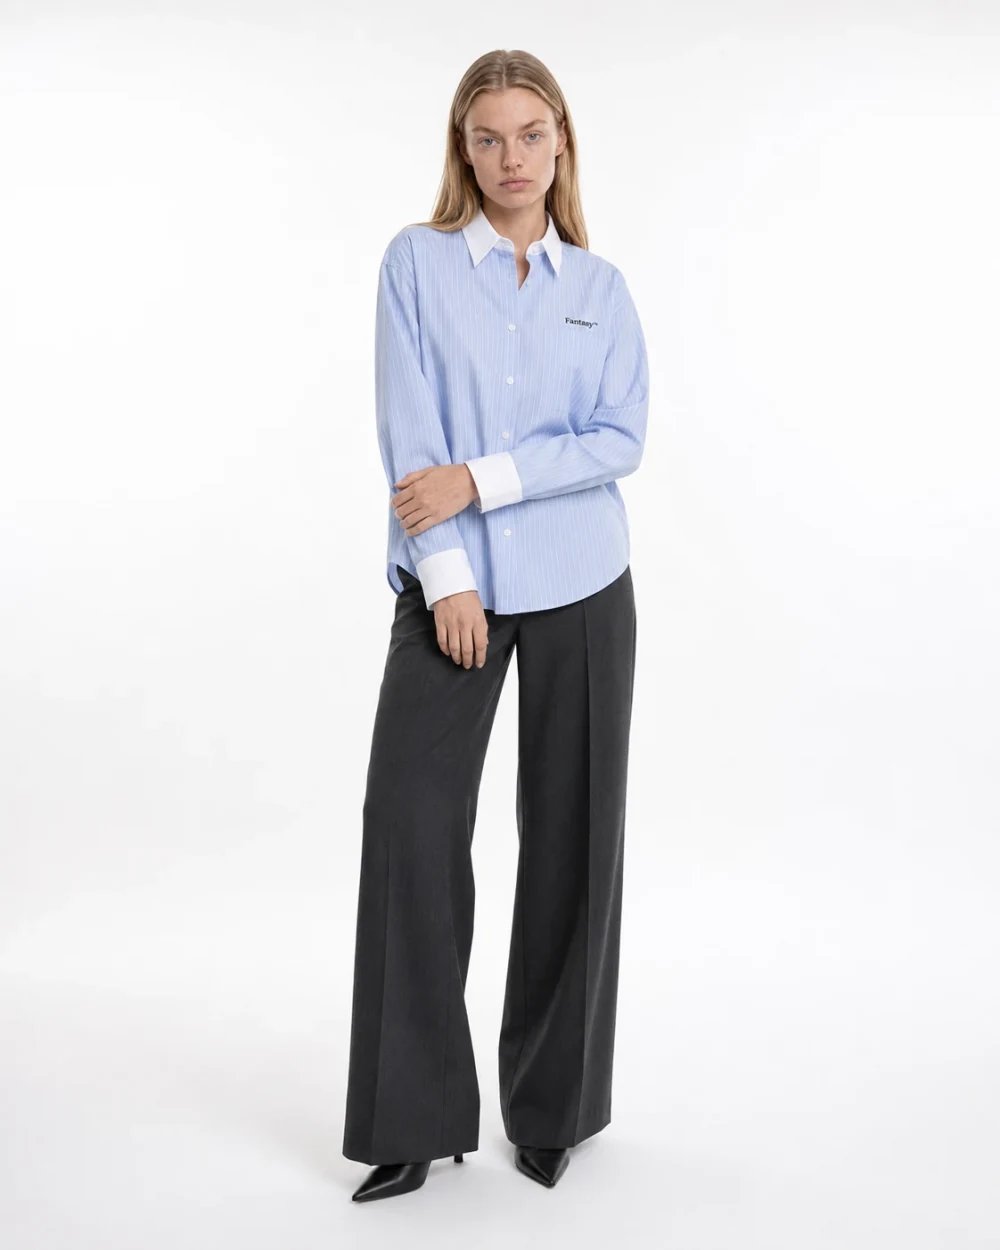
A published bitStudio example using the shirt on a model.
Build the shot
- Open Studio → Generate and select an Avatar.
- Select your saved product under Outfit.
- Choose a Studio preset for a product listing, or an outdoor/editorial preset for a lifestyle image.
- Choose a frame that leaves the full product visible. Start with one image.
- Describe the styling and composition, then select Generate.
Check it like a product photographer
Compare the result against the source at full size:- Construction: neckline, seams, fastenings, pockets, cuffs, and hem.
- Surface: color, print, logos, texture, and transparency.
- Presentation: natural hands, clear silhouette, useful crop, and believable shadows.