

Save a new item
1
Upload the first photo
In Generate → Outfit, choose Upload and select a clear product photo.
2
Name the product
In Save to wardrobe, use a name you will recognize later, such as “Blue striped shirt.” Keep color variants as separate items when they are different products you want to select.
3
Add useful views
Choose Add more photos for back, side, or detail references. A wardrobe item can hold up to 10 photos.Add useful information, rather than ten near-identical images. Avoid mixing different garments or colorways in the same item.
4
Save and reuse
Select Save. The item becomes available in your wardrobe; angle and photo-quality analysis may continue in the background.
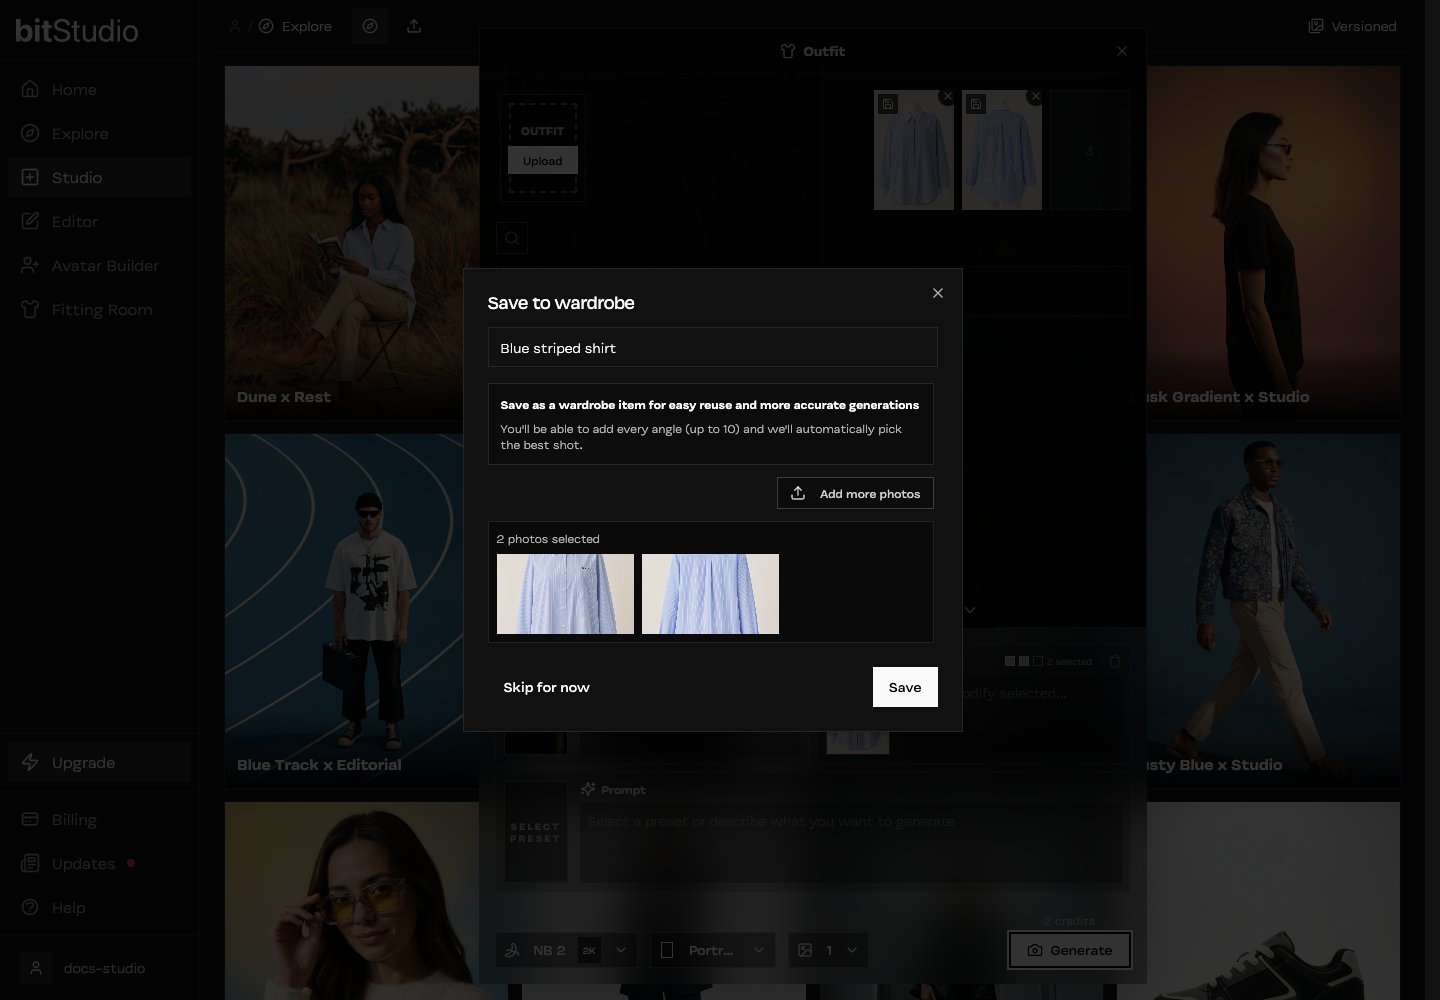
One named product, with front and back references saved together.
Choose references for the next shot
Select the saved item from the outfit picker. Use the item’s edit controls to review its photos and details. If a result repeatedly uses the wrong view, check which views the item actually contains. For Generate, you can select up to three outfit sources. Use those slots for different pieces of a look, such as a shirt, trousers, and a jacket. More selected items do not remove the need to check that they are compatible.Save once or use once?
Prepare the most useful garment photos →