

Choose a useful person photo
Use a well-lit image with one person clearly visible. Show the body area where the new garment will go. A full-length photo is useful for trousers and dresses; a waist-up photo can work for a top. Keep hands, bags, and hair from covering the garment area where possible. A difficult pose or heavy occlusion gives the model less information to work with.1
Add the person
Open Studio → Virtual Try On. Upload the person photo or select a saved image using the person picker.
2
Add the clothing
Upload a garment or select it from your wardrobe. Use one wardrobe item per actual garment; put multiple views of that garment inside the item.To build a look, select compatible items such as a top, trousers, and jacket. V6 supports up to four items; other models can have a smaller selection limit.
3
Choose settings
Choose an available try-on model and quality option. Review the cost. For your first attempt, keep additional instructions short or leave them empty.
4
Generate and compare
Start the try-on. When it finishes, compare the face, pose, garment shape, pattern, and uncovered body areas with your inputs.
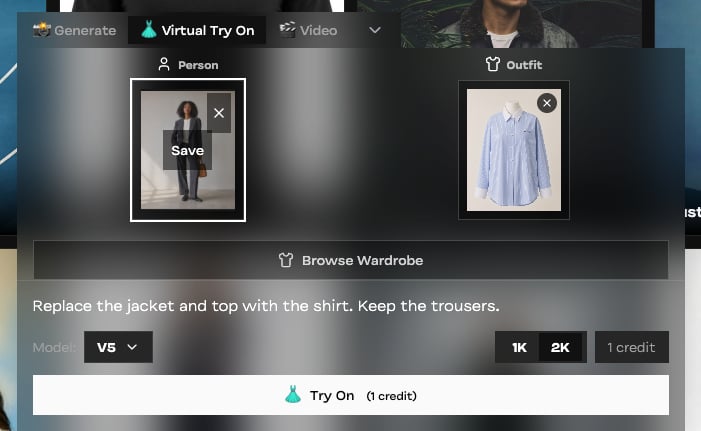
The try-on controls keep the person and clothing references separate.
Give instructions only when they help
Common adjustments
Try-on is an AI visualization. It does not measure the person or establish the correct physical size or fit.
Prepare better person and garment references →
Building an integration? See the dedicated API try-on section, including single-item and multi-item examples.