Use a product-focused preset when the item should stand on its own. A flat lay, ghost mannequin image, or clean packshot serves a different purpose from an on-model campaign photo.

Create the image

  1. Open Generate and choose the garment under Outfit.
  2. Open Select Preset → Packshot and choose a preset that matches the desired product view.
  3. Clear the Avatar if you do not want a person in the image.
  4. Add a short composition instruction, choose the frame, and generate one image.

Match the source to the view

Use a front reference for a front shot and a back reference for a back shot. Save both inside the same wardrobe item. If a hidden feature matters, supply a photo of it rather than asking the model to invent it.
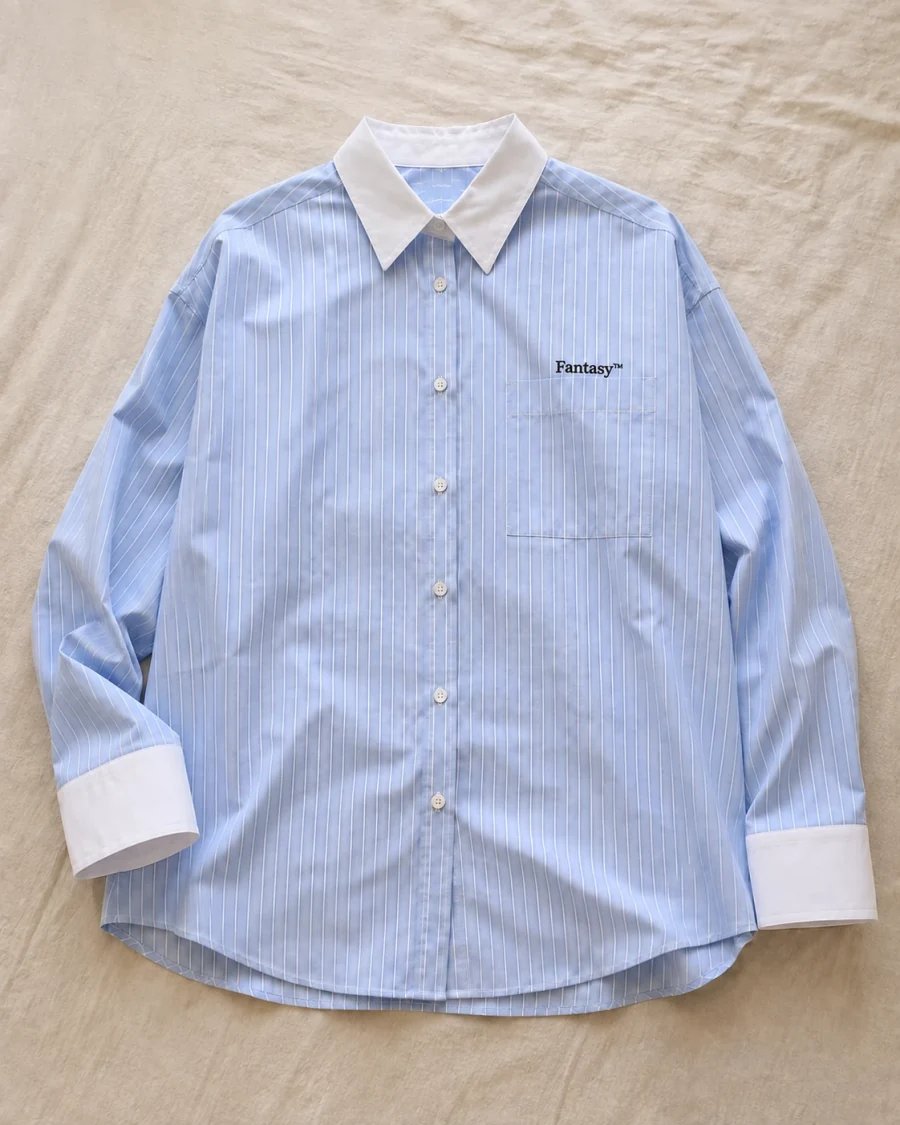
Flat-lay source photo of the blue striped shirt with both sleeves and white cuffs visible

A flat lay can reveal sleeve shape and construction that a tight model crop hides.

Check product accuracy

Review symmetry, seams, pockets, logos, and the garment outline. Check whether the background remains clean and whether shadows match the intended presentation. Generating a clean background may also change the product. If your original product photo is already accurate and only the background needs work, start in the Editor and keep the edit focused on the surrounding area. Learn how presets control a shot →